How to photograph lamps that sell
A good product photo answers questions before the customer asks them. This guide works with a camera or a phone and a little floor space.
Updated:
In short
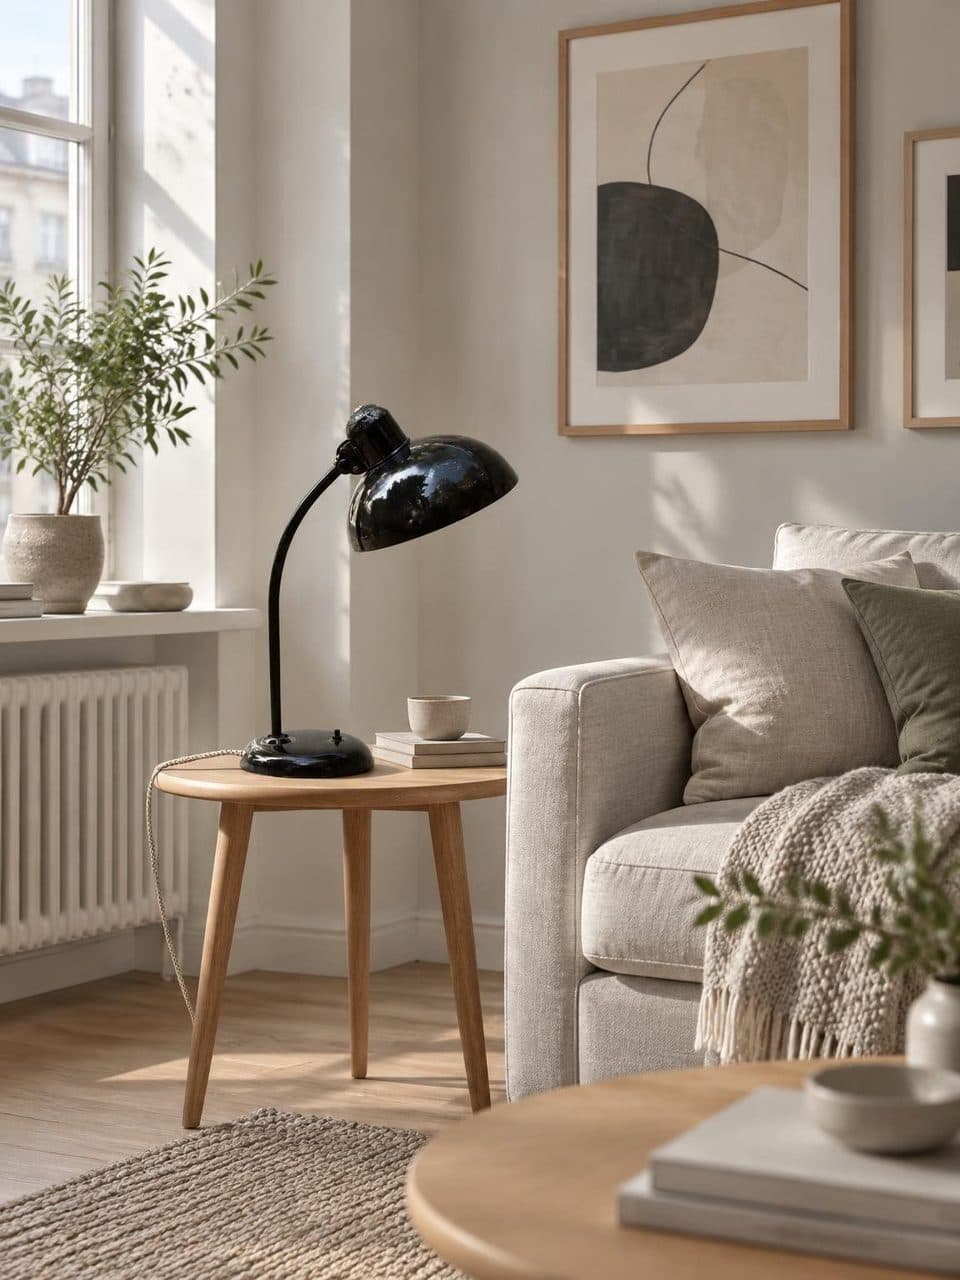
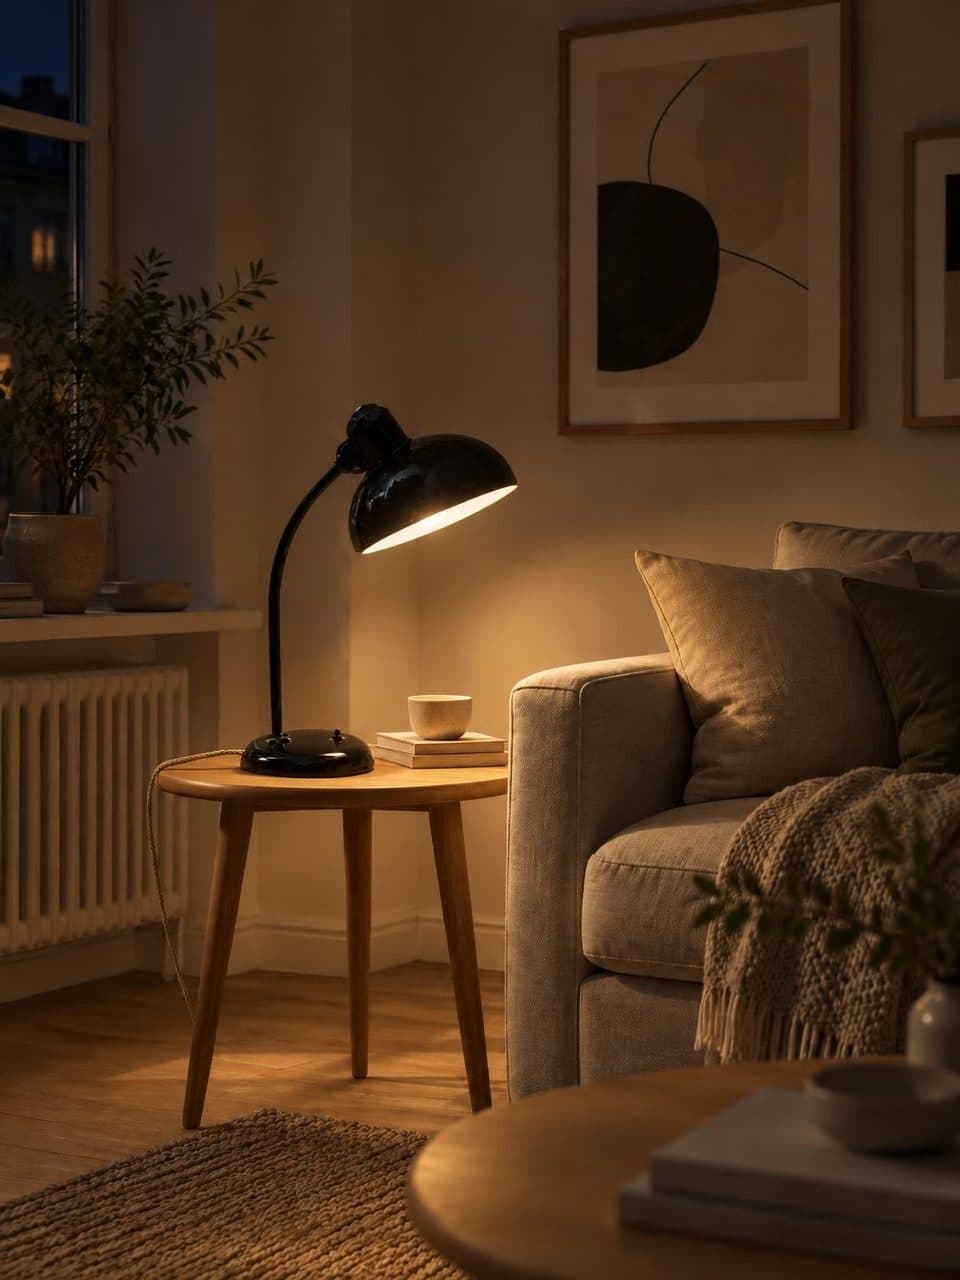
To photograph lamps well, set the piece against a plain background, use soft indirect light and put the camera on a tripod. Shoot a set of angles (front, three-quarter, detail, and from below for ceiling lamps), then a lit shot with the exposure pulled down so the bulb doesn't blow out. Always add written dimensions.
Common mistakes when photographing lamps
A busy background
Furniture, plants and art compete with the lamp. Keep the main photo on a plain background and save room settings for the extra shots.
Mixed light
Window light and ceiling lights have different colors and tint the photo. Use one source and switch the others off.
A blown-out bulb
Lit and on auto exposure, the bulb turns into a white blob and the shade loses its texture.
Wide angle up close
A phone held too close distorts the lamp. Step back and use the 2x or telephoto lens if your phone has one.
No sense of size
On a white background, a table lamp and a floor lamp can look the same. Dimensions need to be written down.
Step by step to a clean product shot
- 1
Prep the lamp and background
Dust it, wipe off fingerprints, remove stickers and tidy the cord. A sheet of white or light gray paper curved from wall to table hides the corner line.
- 2
Set up soft light
The easiest source is a large window without direct sun, with the lamp side-on to it. A white card on the opposite side fills the shadows. Turn the overhead lights off.
- 3
Lock the camera
Use a tripod, put the camera at the height of the lamp's center and keep some distance. Set a fixed white balance so every photo in the catalog has the same tone.
- 4
Shoot the set of angles
Front, three-quarter, side, and close-ups of materials and socket. Repeat the same framing across the catalog, with breathing room around the piece.
- 5
Take the lit shot
Without moving the tripod, switch the lamp on, then dim the room and lower the exposure until the shade gets its texture back. You end up with an off and on pair from the same spot.
How to photograph lamps when they are lit
The lit lamp is the hardest shot and also the one that says the most about the piece. The bulb puts out far more light than anything around it, and the camera can't record both at once. That is where the hot spot comes from, a white circle with a halo that hides the shape of the shade.
Four fixes work together. Lower the output with a dimmer or a softer bulb. Keep some ambient light so the frame and base stay visible. Tap the lamp on your phone screen to lock exposure, then slide down until the shade shows texture again. And pick an angle where the bulb isn't pointing straight at the lens. If the design doesn't depend on a visible bulb, a frosted one spreads light more evenly than a clear one.
Angles that help people decide
Each type of lamp has an angle the buyer needs to see. Ceiling lamps are seen from below, so take one shot from there that shows the diffuser or the opening of the shade. With wall sconces, what matters is how far they stick out, which shows in profile. For floor and table lamps, the three-quarter view shows volume and proportions.
Showing scale and materials
On a plain background, size disappears. Always write height, width or diameter and, for pendants, the maximum cord length. A shot in context, next to an armchair or on a nightstand, makes those numbers easy to read.
Clear glass and chrome act like mirrors. A large, diffused light gives soft, even reflections, and black cards at the sides draw the edges of the glass. Fabric and paper shades need side light so the weave shows.
A good photo is also what Lucy needs
Product shots on a plain background are the backbone of a catalog, yet customers still struggle to picture the lamp at home. Staged scenes fill that gap.
Lucy starts from that same photo to show each lamp in a furnished room, by day with the light off and by night with it on. The scene keeps the lamp's shape, color and materials, so the sharper and more complete the photo, the more faithful the result.
Frequently asked questions
Is a phone good enough to photograph lamps?
Yes, for an online catalog it is. What makes the difference is soft light, a tripod and distance. Use the zoom lens if your phone has one so the piece doesn't distort, and turn the flash off. Check the photos on a large screen before you publish them.
What background works best for lamp photos?
A plain one, white or light gray, curved so the corner doesn't show. White makes the catalog look tidy, while light gray helps with white shades that would vanish on white. What matters most is using the same background for every photo.
Should I shoot lamps at night?
For the lit shot, low ambient light helps, at night or with the curtains drawn, so the glow reads clearly. For the unlit shots, indirect daylight is better because it shows colors and materials as they really are.
What photo does Lucy need to stage a lamp?
A sharp photo of the whole lamp, uncropped and evenly lit, with its shape, color and materials clearly visible. If your current catalog photos look like that, they work. During the catalog migration, the Lucy team works from the photos you already have.
Keep reading
- FeaturesDay and nightEvery lamp in a real room, switched off by day and lit at night, one tap apart.
- GuidesOnline lighting catalogWhat each product page needs, how to organize the catalog and how to keep prices current.
- FeaturesCatalog migrationSend us photos, names and prices. The Lucy team loads your lamps and creates their scenes at no extra cost.
Your catalog, by day and lit at night
We migrate your catalog, stage every lamp, and you edit prices whenever you want.